Starting with a piece of plain black cotton fabric.
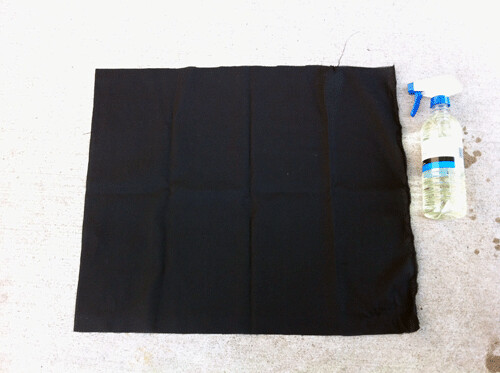
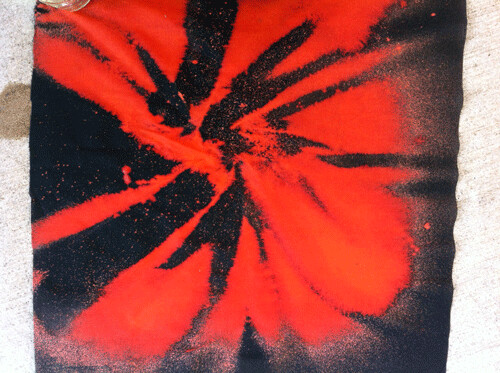
Add a little diluted bleach and scrunch the fabric
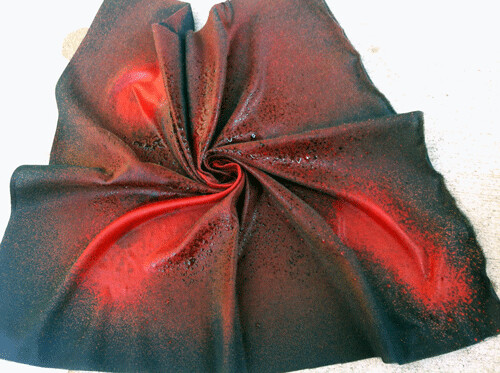
Dry the fabric
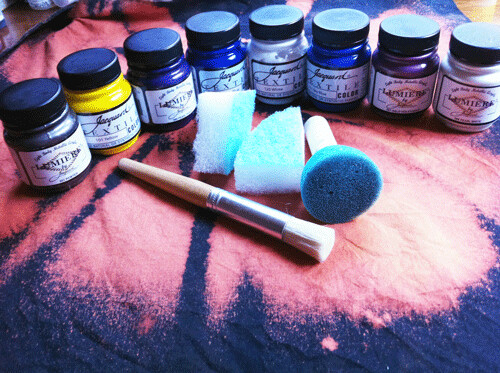
And then proceed to completely cover the bleached parts with paint, so you can't tell you bleached it. When I started painting I wanted to just add highlights and dimension, and I ended up covering everything.
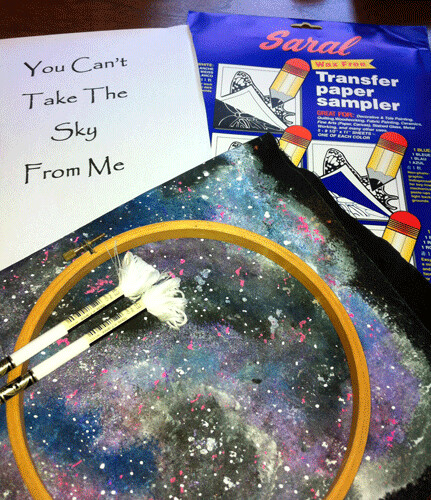
Now the stitching can begin! I was worried about how I would transfer my design to my newly created galaxy print- but luckily I found a pack of colored carbon paper at JoAnn's. You can also see the finished fabric.
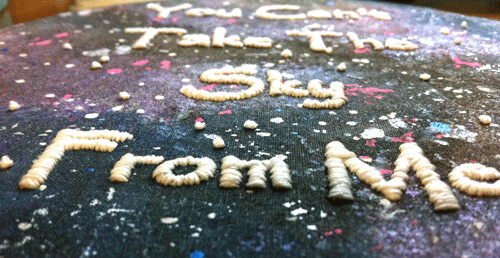
Forty hours of satin stitching later and the piece is complete! I used glow in the dark thread for this piece to give it a little punch.

A final close up of the satin stitching. I am not sure I would ever do this much satin stitching with glow in the dark thread again. I had to un-do knots every other stitch.
I think the end result was totally worth the hassle though!