Thursday, August 8, 2013

The Fun World of Screen Printing

 My first experience with screen printing was in my high school graphic arts class. For one assignment we made a mixed CD, created an insert and screen printed the CD with an image of our choosing. My mix was full of Led Zeppelin, Jimi Hendrix and Pink Floyd and what that had to do with a lion crest is something that has been lost in the sands of time.


I can't believe I still have this!

 What I do remember though is how much I really liked using the screen printing process and how I was really intimidated by all of the steps that it took to prepare a screen for printing. This kept me from trying screen printing for a long time.

Flash forward a couple of years to a trip to the thrift store where I scored a compete screen printing set for a whopping $5! 


While it came with a set of directions, they were less than helpful as I kept getting distracted by the extremely creepy drawings that accompanied the instructions. So the kit sat unused for many years and made the trip to Thailand and back without ever being opened.


What is wrong with his face ?!

What finally inspired me and gave me the confidence to finally take up screen printing again was a series of tutorials posted by Quirkiecraft. The tutorials are really clear and all the photos were really helpful. So, I started my new foray into screen printing by selecting a couple of images that I wanted to use to make some hand printed fabric and used drawing fluid to paint the images on to the screen. 


One thing I did learn from using the drawing fluid was that it is really hard to paint fine lines because the fluid tends to spread and obscure the lines. I actually had to rinse out my screen and start over twice before I created a satisfactory screen.


Screen ready for screen filler


Ready for printing!

Using these screens, I was able to create some really fun fabrics. 


Monday, March 11, 2013

"Believe" Mixed Media Canvas

I can't seem to stop making mixed media canvases with lots of texture. I tried really hard to stay away from the modeling paste on this canvas, but apparently I just couldn't help my self.


Fun with stencils!
So this canvas started out with a mixture of acrylic paints and spray inks. I really wanted to make an art piece similar to this one, but with a little bit of a twist. So my next step was to bust into our tape stash and cover the canvas with random tape strips.
All taped up and no where to go
Next I used some white acrylic paint over the top. The idea was that the spaces would be white, leaving the painted spaces under the tape. However I didn't take two things into consideration with my brilliant plan.

1. Spray inks continue to react even after they've dried.
 I ended up with a pastel green/blue instead of the bright white that I wanted.

2. Electrical tape makes a really bad mask.
 The red tape above was some electrical tape I had handy. It didn't seal correctly, so the white paint seeped under the tape, messing up my clean lines.
A pretty pastel, but not really what I was going for.
So after I pulled the tape off the canvas, I tried to figure out how to salvage this piece of art. I decided to do what I do best- build up layers and layers of texture using modeling paste. I also used Distress re-inkers to draw on the canvas and added some bubble wrap stamping. The final touches were some painted cardboard strips and chipboard letters.
So much texture!


So I guess the moral of my story is that 1. It is really hard to resist the siren call of the texture paste and 2. If you've messed up on a piece of art, more layers of paint and texture will fix that right up.

Saturday, February 2, 2013

Art Journal- "One Word"

The prompt for this art journal entry was "One Word". After thinking of several words that moved me, I settled on this one:


I choose "Create" because I believe in the power of creativity. It doesn't matter what I do or how I do it- as long as I am creating something, I feel I've accomplished something worthwhile.

On this page I used gesso and stencils to create a resist to the watercolors and spray inks I used. The lettering and all of the doodles were done with my new favorite art tool- Faber Castel Indian ink PITT markers. I love how these pens will write on any surface and because they take a bit to dry, I can smudge and play with them.

The page also has vellum butterflies and paisleys that I embellished with a white gel pen.


This foray in to art journaling was so much fun! I can't wait till the next prompt from A Year in the Life of an Art Journal

Wednesday, January 16, 2013

Creative Resolutions

I usually don't make traditional New Year's Resolutions, in fact I usually don't make resolutions at all. But this year I've decided that I want to push my self creatively. This desire to try new things has always been a part of my personality, and I am excited about focusing that desire on one specific project this year.

Inspired by a wonderful handmade book created just for me by the amazing Emma at QuirkieCraft, I've decided to keep an art journal for 2013. Here is the journal- it is hand-stitched and is stuffed with paper of every shape and color. It is also filled with paper that Emma silk screened herself.


And because I know that I need some sort of inspiration or prompts to not only keep me going, but keep me focused, I've decided to join A Year in the Life of an Art Journal- an awesome blog that posts new prompts and techniques to try on the 15th and 30th of each month. 

The first prompt is "One Word" and we are supposed to use water color on our journal page. I can't wait to get started!

Thursday, October 18, 2012

Mmmmm Texture...

6x6 art swap 1

Ahhh, I just love all of the texture on this mixed media piece. I started this piece with a 6 inch X 6 inch canvas. I covered the canvas with paper from a variety of books in different languages as well as music sheets. I also cut apart a bingo card and decoupaged that onto the canvas.

The next layers were built up over time. I would pick up the piece every day and either smear some texture paste, crackle medium or spray inks onto the canvas. The arrows at the top and the circles at the bottom were made by pushing Liquidtex texture paste through a brass stencil and sequin waste. I used my favorite spray inks by Dylusions as well as Tim Holtz's Distress Stains to add the color.

The clock image at the bottom as well as the Chinese (I think it's Chinese) characters at the top were added last. I stamped these images onto white tissue paper using Black Staz-On ink. I then decoupaged the tissue paper on top of all the texture. I love how the tissue paper melts into the canvas and you still see the texture underneath.


6x6 art swap 2

Here is a shot of one side of the canvas. This really shows the crackle medium an the texture paste. Once everything was dry I ran a bronze ink pad over the top to highlight the peaks.

It was so much fun creating this art piece. I loved being able to pick it up everyday and add a little something new.

Monday, October 8, 2012

Art Abandonment

For the last few months I have been somewhat obsessed with the idea of Art Abandonment, the idea of creating little pieces of art to leave for others to find. I just love the idea of leaving art in some unexpected place and having some one discover it. It was the desire to participate in such a fun idea, that let me to start creating mixed media art pieces- and it was a swap on Craftster that gave me the kick in the butt to actually start abandoning my art.

In the Art Abandonment swap, we created 6 pieces of art for a partner- they would then abandon five of the art pieces and keep one for themselves.  So the art pieces below are currently in California- waiting to be discovered by random strangers!

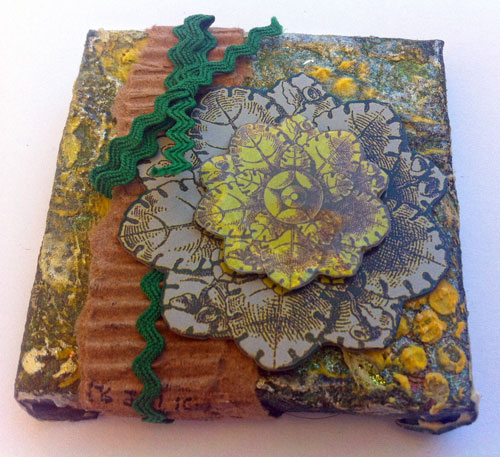
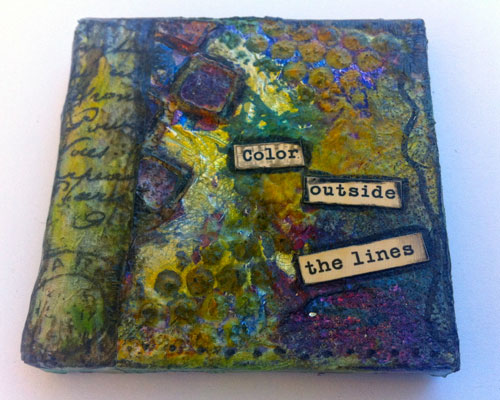
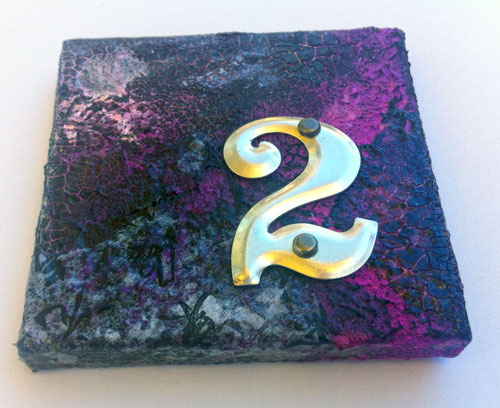
I created 6 mini-mixed media canvases- each one is 3 inches X 3 inches and covered with a variety of textures, paints, inks, papers etc.
mini-mixed-media-6

mini-mixed-media-5

mini-mixed-media-4

mini-mixed-media-3

mini-mixed-media-2

mini-mixed-media-1

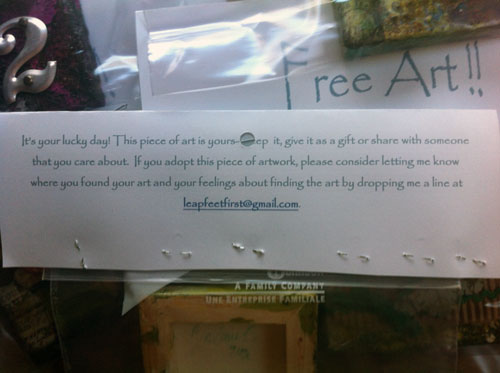
I packaged each of the art pieces in a plastic baggie and then attached a fun note- asking anyone who finds the art to email me and let me know what they think. I hope I get a response!

art-abandonment-note

Thursday, September 27, 2012

Creating a 'Verse

For my latest hoopla artwork I knew I wanted to create something based on one of my favorite television shows- Firefly. I decided to embroider a part of the opening theme song, but I needed the perfect fabric to stitch it on. After searching the local fabric stores, I decided to create my own galaxy fabric!

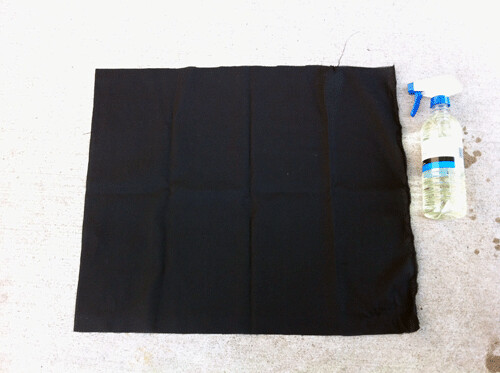
Starting with a piece of plain black cotton fabric.
bleach-start

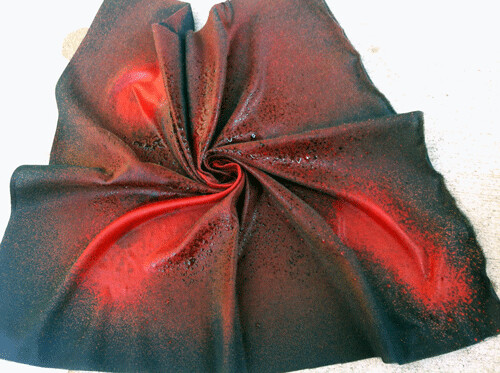
Add a little diluted bleach and scrunch the fabric
bleach-during

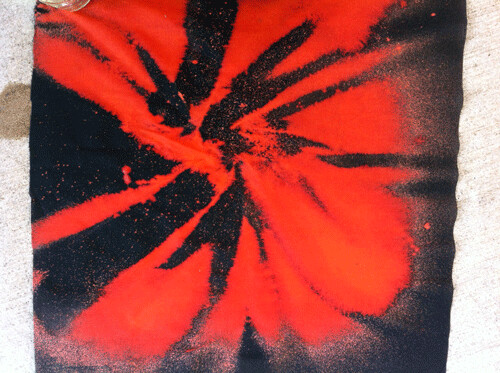
Dry the fabric
bleach-after

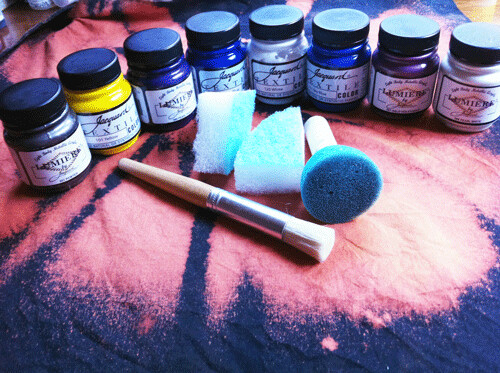
And then proceed to completely cover the bleached parts with paint, so you can't tell you bleached it. When I started painting I wanted to just add highlights and dimension, and I ended up covering everything.
paint-1

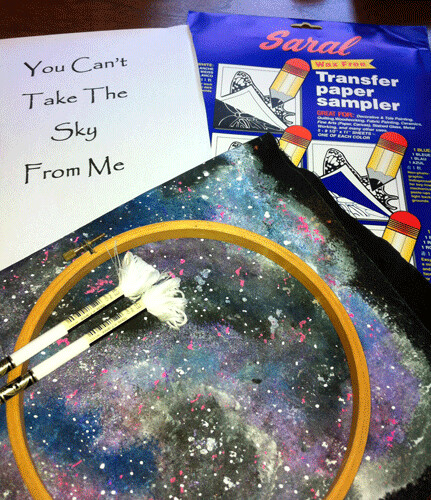
Now the stitching can begin! I was worried about how I would transfer my design to my newly created galaxy print- but luckily I found a pack of colored carbon paper at JoAnn's. You can also see the finished fabric.
stitching-start

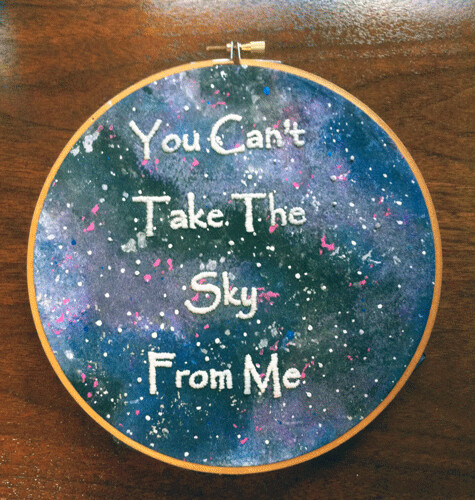
Forty hours of satin stitching later and the piece is complete! I used glow in the dark thread for this piece to give it a little punch.
finish

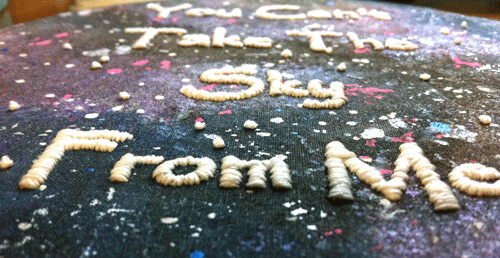
A final close up of the satin stitching. I am not sure I would ever do this much satin stitching with glow in the dark thread again. I had to un-do knots every other stitch.

 I think the end result was totally worth the hassle though!

finish-close-up


Saturday, August 25, 2012

Mini Mixed Media Art

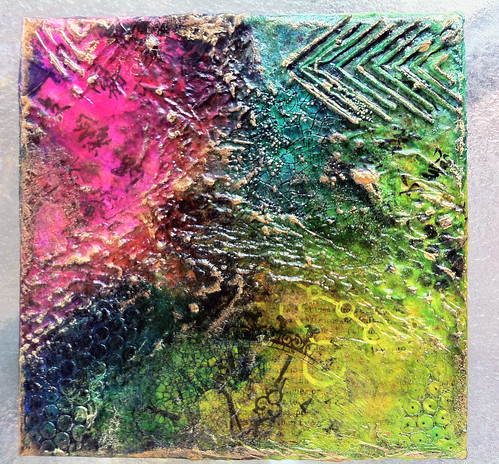
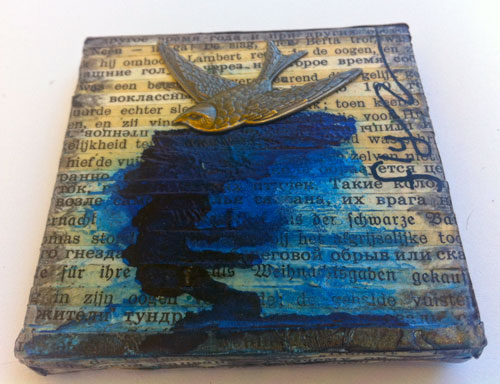
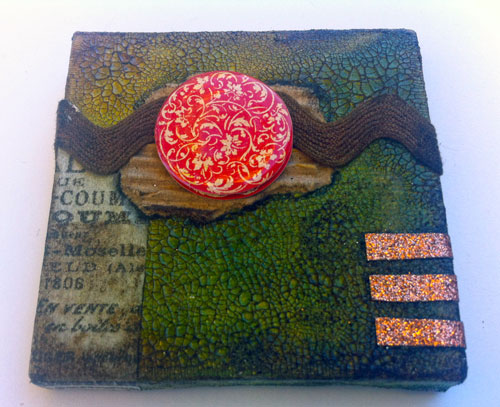
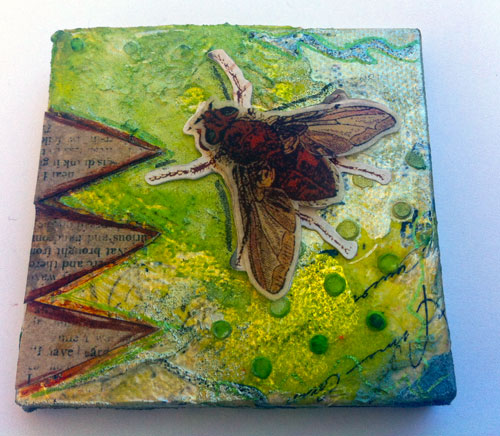
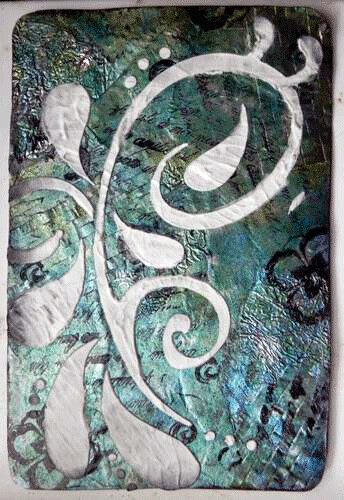
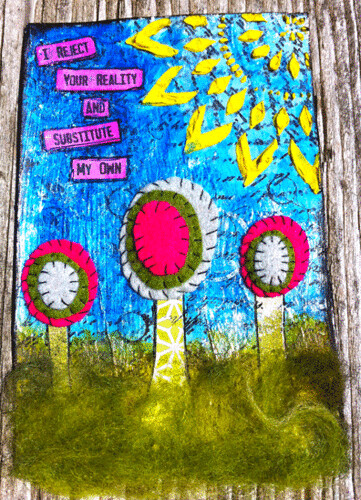
For the last three months I have been organizing a swap on Craftster called The 4x6 Art Swap. In this swap, participants make a 4x6 piece of art to send to a mystery partner. Not being tied to any theme or specific material is really freeing. The variety of different mediums used is astounding. Here are the four pieces of art that I have created. Being new to mixed media, I was worried about starting a huge project, so these mini mixed media art pieces have been a great way to play around and test out new techniques.

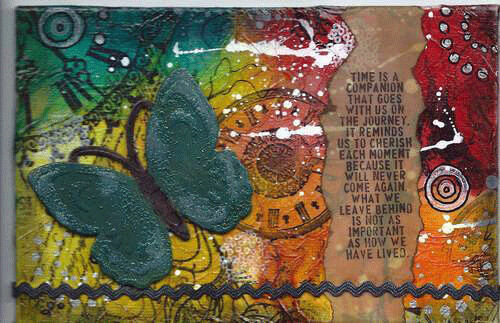
When creating this piece I used my new Dylusions spray inks. The colors of these inks are so vibrant, but I wasn't too careful when I sprayed them on, so I looked like I choked a rainbow for about two days after I was done. The text is stamped on to vellum and distressed and the butterfly is chipboard that I colored with Distress stain and embossed.
time-mixed-media

This piece started out as a collage of packing material, candy foil wrappers and tissue paper. On top I applied alcohol inks and texture medium.
fleur

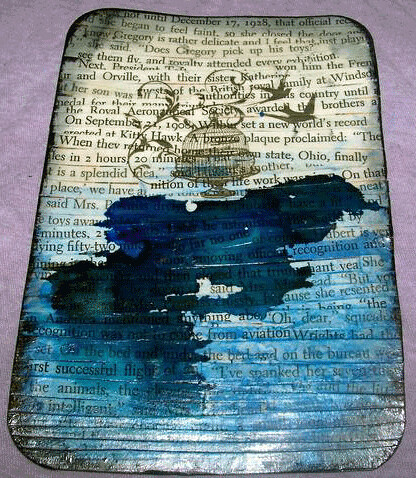
I used rub-ons for the birdcage and a mix of alcohol inks for the blue on the bottom of this piece.
birdcage

Besides having my favorite Mythbuster's quote, this piece has felt, hand dyed fiber, texture medium and embroidery. I absolutely love this piece of art.
reality


Tuesday, August 14, 2012

Spinning Yarn Should Be An Olympic Event

If the Olympics can have rhythmic gymnastics or what ever that sport with the dancing horses is called, I think that spinning could definitely qualify as an Olympic event. In fact, they used to award Olympic medals for works of art inspiried by sports. That is a tradition they should bring back.

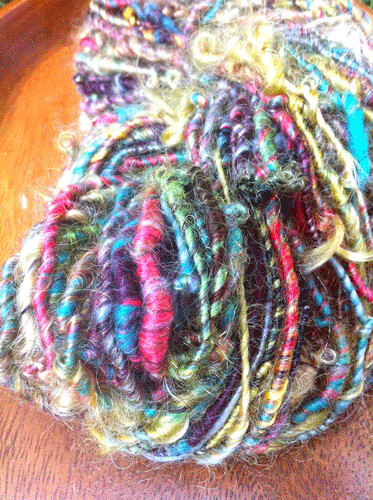
Like most of the world, I've spent the last two weeks glued to the television, enthralled with the Olympics. But I didn't just sit there idly- I took the opportunity to spin up some fun new yarns.
off-the-deep-end-1
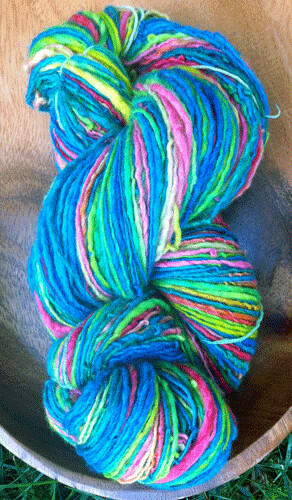
Off The Deep End
346 yards- 100% Merino

off-the-deep-end-2
Mmmmm... squishy
rowdy-1
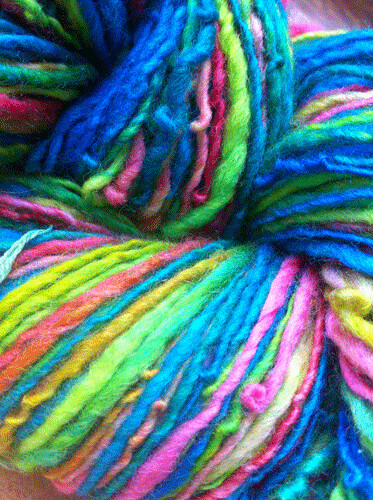
R-O-W-D-Y
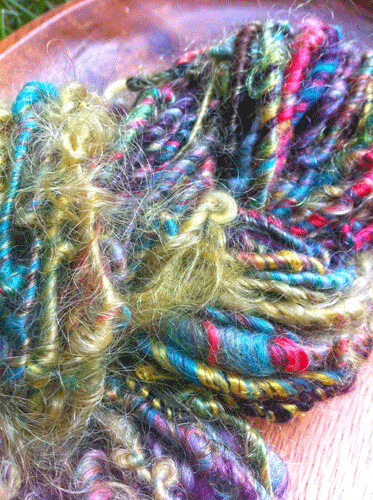
70 yards- Merino,Bamboo,  Mohair, Firestar

rowdy-3
Definitely looks Rowdy

rowdy-2
Look at all that texture!

Friday, May 25, 2012

Shifting Focus

Well, hello there.

It's been a while, hasn't it?

Eric and I are back in Wisconsin, trying to re-acclimate ouresevles to living in the United States. It's been an interesting process to say the least. For me, I think the reverse culture shock was amplified by a multitude of  factors; being jobless, missing my friends in Thailand like crazy, and generally feeling lost and purposeless. Plus the food here is so bland! I felt like The Observer pouring pepper and hot sauce all over my food ( Bonus points for those that understand that reference)

After six months though, things have definitely gotten better. I found part time work, we reconnected with friends we have here, and we are about to move into our new home. Pro tip- if you don't have awesome in-laws that will let you crash at their house for six months, I would advise that you don't try to buy a short sale home. Thank you Tim and Becky!!

The last six months have been a time of reflection and adjustment. This applies to this little corner of the interwebs. I thought about just abandoning the blog because I am pretty sure the only people that read it before were family members who wanted to keep tabs on what we were doing. But, I really enjoyed writing the blog-  I was torn...

So, the blog will continue- although with a shifted focus. I am not exactly sure what that will be yet, but I envision it being a place for me to showcase our creative endeavors, things that amuse me, and the trips we take.

I have already made a few design changes and I am currently working with the awesomely talented Emma at QuirkieCraft to redesign the header, which I am I am stupidly excited about.

I hope you continue reading and if you have any suggestions or words of encouragement- I am always happy to hear them!


Thursday, November 24, 2011

Creativity Soothes

Flood wall along Rama IV

Flood themed painting on a wall near Khao San Road

As I walk along the sandbagged and barricaded streets of Bangkok, I love seeing images like those above. Instead of seeing concrete flood walls as a barrier or a hindrance, some people see them as an opportunity to be creative.


For me personally, when times are tense and everything seems to be going wrong, I always seem to find solace in being creative and expressing myself. My form of expression usually turns to something fiber related, and this time was no exception. 


During the height of the flood, I would sit in my apartment, constantly checking Twitter and other news sources about flood information. Knowing that I needed a break from that, I spun the yarn below. The methodical focus needed to spin the yarn helped me relax and take my mind off everything that was happening.  It's brown, blue and green colors remind me of the river that so drastically changed my life.

I call it "Screw You, Chao Phraya"


Friday, November 11, 2011

Only One Wish

This year, as I released my krathong into the pond at Benjasiri Park I made only one wish, that Thailand would recover quickly from these devastating floods and that one day Eric and I would be able to return to Bangkok. (Ok, I know that is technically two wishes, but math was never my strong suit)

Happy Loy Krathong!! And as the song says:
Each one with this krathong,
As we push away we pray,
We can see a better day


To better days ahead!