Wednesday, January 16, 2013

Creative Resolutions

I usually don't make traditional New Year's Resolutions, in fact I usually don't make resolutions at all. But this year I've decided that I want to push my self creatively. This desire to try new things has always been a part of my personality, and I am excited about focusing that desire on one specific project this year.

Inspired by a wonderful handmade book created just for me by the amazing Emma at QuirkieCraft, I've decided to keep an art journal for 2013. Here is the journal- it is hand-stitched and is stuffed with paper of every shape and color. It is also filled with paper that Emma silk screened herself.


And because I know that I need some sort of inspiration or prompts to not only keep me going, but keep me focused, I've decided to join A Year in the Life of an Art Journal- an awesome blog that posts new prompts and techniques to try on the 15th and 30th of each month. 

The first prompt is "One Word" and we are supposed to use water color on our journal page. I can't wait to get started!

Thursday, October 18, 2012

Mmmmm Texture...

6x6 art swap 1

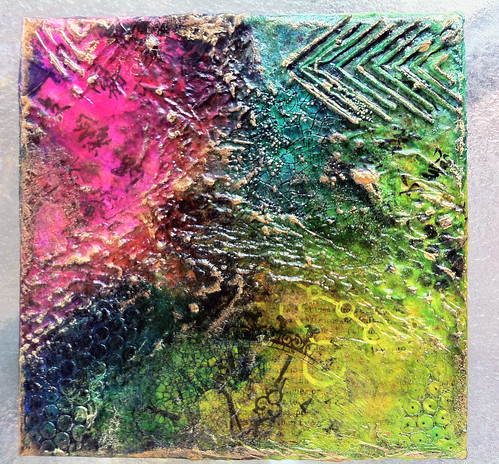
Ahhh, I just love all of the texture on this mixed media piece. I started this piece with a 6 inch X 6 inch canvas. I covered the canvas with paper from a variety of books in different languages as well as music sheets. I also cut apart a bingo card and decoupaged that onto the canvas.

The next layers were built up over time. I would pick up the piece every day and either smear some texture paste, crackle medium or spray inks onto the canvas. The arrows at the top and the circles at the bottom were made by pushing Liquidtex texture paste through a brass stencil and sequin waste. I used my favorite spray inks by Dylusions as well as Tim Holtz's Distress Stains to add the color.

The clock image at the bottom as well as the Chinese (I think it's Chinese) characters at the top were added last. I stamped these images onto white tissue paper using Black Staz-On ink. I then decoupaged the tissue paper on top of all the texture. I love how the tissue paper melts into the canvas and you still see the texture underneath.


6x6 art swap 2

Here is a shot of one side of the canvas. This really shows the crackle medium an the texture paste. Once everything was dry I ran a bronze ink pad over the top to highlight the peaks.

It was so much fun creating this art piece. I loved being able to pick it up everyday and add a little something new.

Monday, October 8, 2012

Art Abandonment

For the last few months I have been somewhat obsessed with the idea of Art Abandonment, the idea of creating little pieces of art to leave for others to find. I just love the idea of leaving art in some unexpected place and having some one discover it. It was the desire to participate in such a fun idea, that let me to start creating mixed media art pieces- and it was a swap on Craftster that gave me the kick in the butt to actually start abandoning my art.

In the Art Abandonment swap, we created 6 pieces of art for a partner- they would then abandon five of the art pieces and keep one for themselves.  So the art pieces below are currently in California- waiting to be discovered by random strangers!

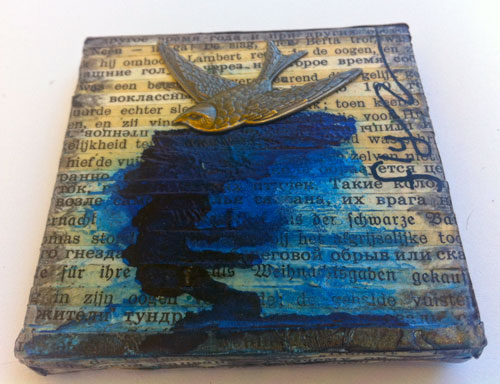
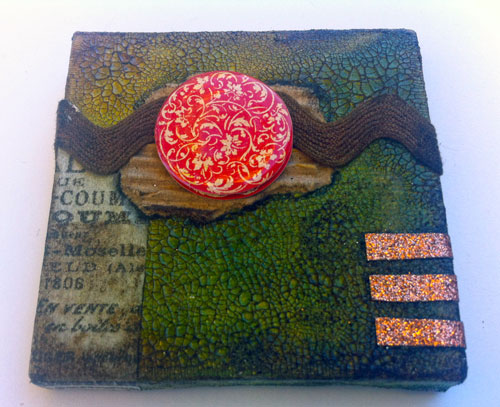
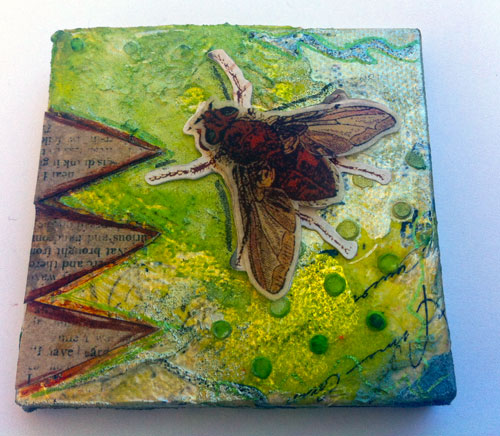
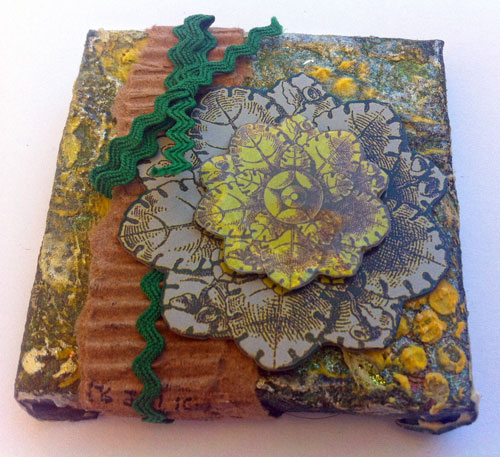
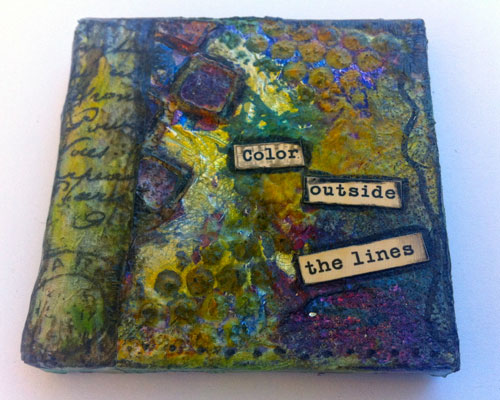
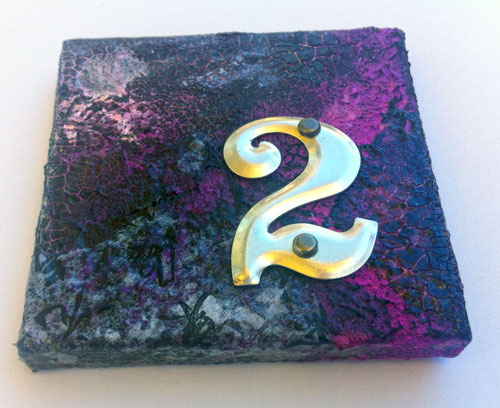
I created 6 mini-mixed media canvases- each one is 3 inches X 3 inches and covered with a variety of textures, paints, inks, papers etc.
mini-mixed-media-6

mini-mixed-media-5

mini-mixed-media-4

mini-mixed-media-3

mini-mixed-media-2

mini-mixed-media-1

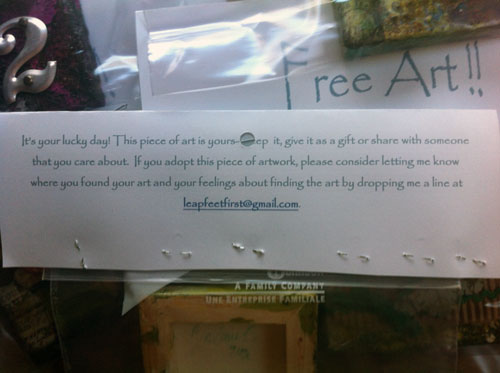
I packaged each of the art pieces in a plastic baggie and then attached a fun note- asking anyone who finds the art to email me and let me know what they think. I hope I get a response!

art-abandonment-note

Thursday, September 27, 2012

Creating a 'Verse

For my latest hoopla artwork I knew I wanted to create something based on one of my favorite television shows- Firefly. I decided to embroider a part of the opening theme song, but I needed the perfect fabric to stitch it on. After searching the local fabric stores, I decided to create my own galaxy fabric!

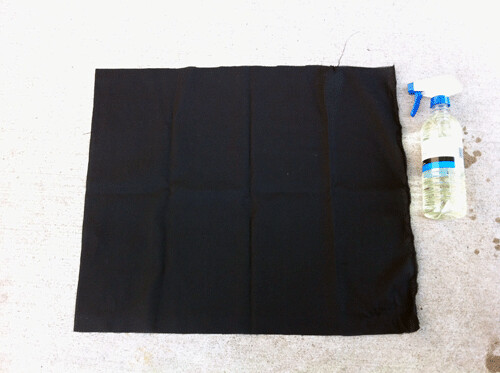
Starting with a piece of plain black cotton fabric.
bleach-start

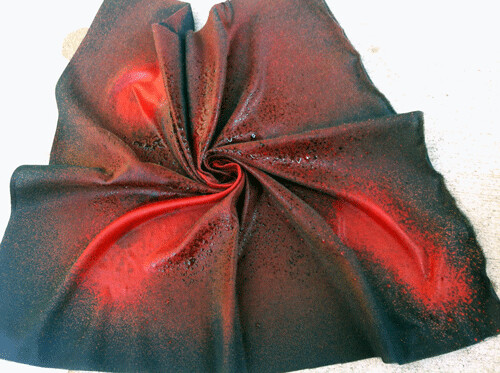
Add a little diluted bleach and scrunch the fabric
bleach-during

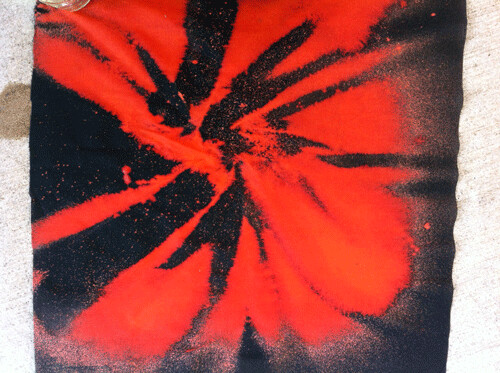
Dry the fabric
bleach-after

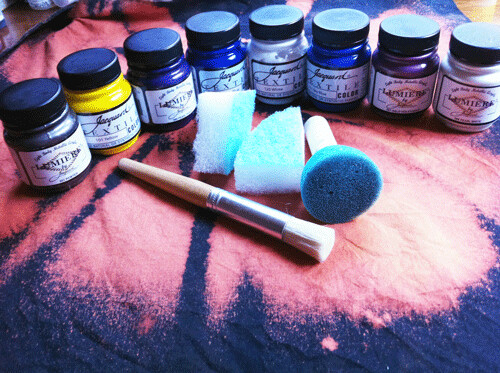
And then proceed to completely cover the bleached parts with paint, so you can't tell you bleached it. When I started painting I wanted to just add highlights and dimension, and I ended up covering everything.
paint-1

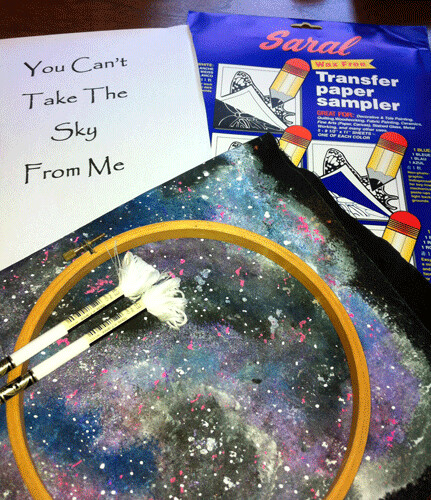
Now the stitching can begin! I was worried about how I would transfer my design to my newly created galaxy print- but luckily I found a pack of colored carbon paper at JoAnn's. You can also see the finished fabric.
stitching-start

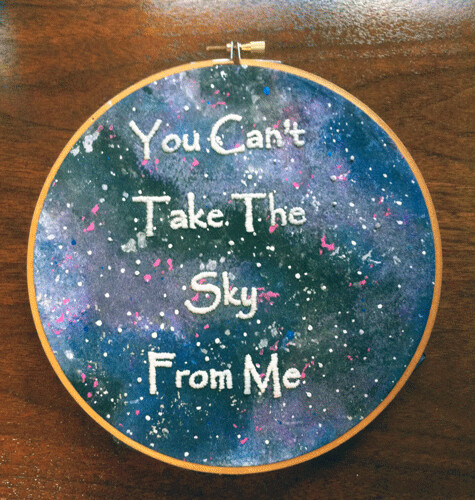
Forty hours of satin stitching later and the piece is complete! I used glow in the dark thread for this piece to give it a little punch.
finish

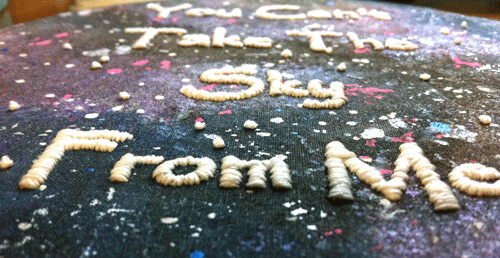
A final close up of the satin stitching. I am not sure I would ever do this much satin stitching with glow in the dark thread again. I had to un-do knots every other stitch.

 I think the end result was totally worth the hassle though!

finish-close-up